Zen and the art of shoe lacing
Lacing up your Shoes before a run is something you do regularly without thinking about it. However, on race day, this simple task can often seem impossibly tricky. The act of forming a knot is fairly simple, but knowing how much tension to apply is tricky. Tying the shoelaces to tight can cause a number of problems, including crushing the tendons in the top of the foot. (I've heard the tendons on the top of my feet a few times, as well as no lasting damage, it is rather unpleasant.)
Contents
1 Choking
This difficulty in tying shoes on race day may be part of the phenomenon known as Choking. Choking is where we attempt to take conscious control of something we normally do automatically, like hitting a ball with a golf club or tennis racket. Trying to take conscious control of the golf club or tennis racket does not work, as these activities require the speed of the subconscious mind. However, something simpler like tying shoelaces can be done consciously if we prepare ourselves ahead of time. This preparation requires conscious knowledge of how we tie our shoes, learning and remembering exactly how much tension to apply, so that come race day we can replicate the feat easily.
2 Zen Lacing
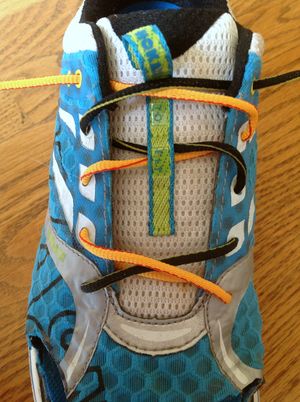
My approach is to loosen the laces completely so that there's plenty of slack at each hole, and then apply even tension to the laces working my way from the bottom to the top. I grip the laces between my thumb and forefinger, without wrapping the lace around my fingers. This limits the force I can apply and produces an even amount of tension. This approach is based around the idea of Zen Mindfulness and being consciously aware of your activities rather than relying on your subconscious automation.
3 Speed Lacing Systems
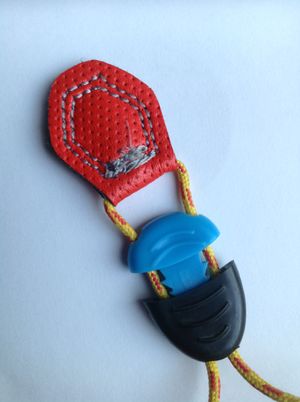
Some shoes use a 'speed lacing' system which replaces the traditional knot with a clamp, often using thinner laces. These systems generally work quite well, but you need to use a similar level of mindfulness so that you are aware of how much tension to apply. I typically find that it is slightly harder to get the right level of tension with speed lacing systems than with knots.
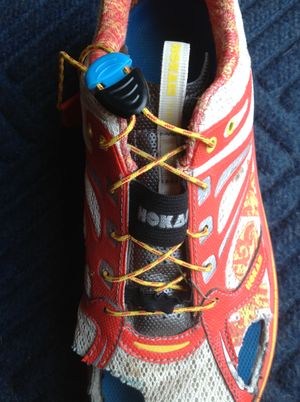 The Hoka Speed Lacing system from the Hoka Bondi Speed. Notice the laces are thinner than in traditional systems. |
4 Lock Laces
There are replacement lacing systems like Lock Laces that use an elastic lace combined with a speed lacing clamp. While some people get on well with this approach, I've found that the elasticity of the laces works poorly. The elastic laces require more tension on the lace and pressure on the foot to keep the shoe in place compared with an inflexible lace. I've also found it much harder to get a predictable level of tension on the lace.
5 Retying Shoes
This problem becomes particularly annoying if you have to retie your shoes during the race. The shoes will stretch slightly, and applying the usual amount of tension to the laces is likely to result in shoes that are too tight. It can be worth practicing retying your shoes on a few training runs to get a sense of what tension works well.
6 Lacing Patterns
There are various different patterns for shoe lacing that attempt to compensate for problems in the fit of the shoe. There is no such thing as a free lunch, and these patterns tend to cause other problems over time. I would advise against using the non-standard lacing patterns for a protracted period.
6.1 The Normal Pattern
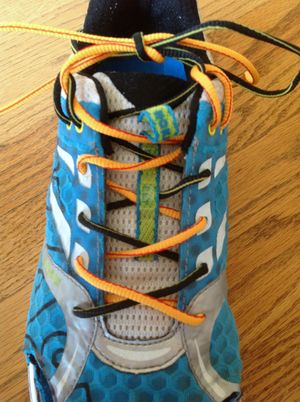
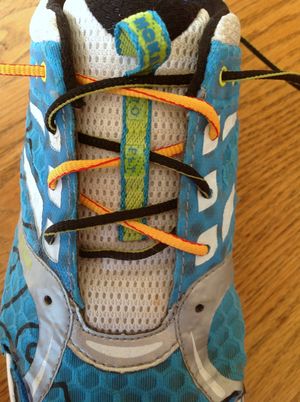
This is a common "normal" pattern, where the lace comes up through each eye hole. The lace goes out the top of one eye hole and into the bottom of the other, which increases the friction of the lace slightly.
6.2 The Heel Lock
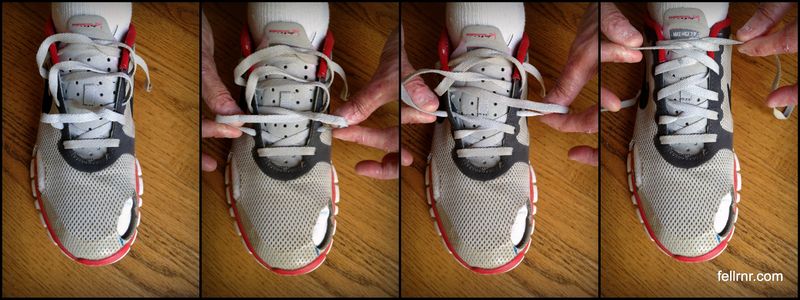
If your heel is slipping up in your shoe, this pattern will tighten the laces around your ankle. The lace goes through the top two eye holes on one side, forming a loop. The lace then goes through the loop on the other side. The downside to this pattern is that it tends to put extra pressure on the tendons at the top of the ankle, which can cause problems. This pattern also makes it harder to adjust the tension on your laces and not all laces are long enough.
6.3 Gap Lacing
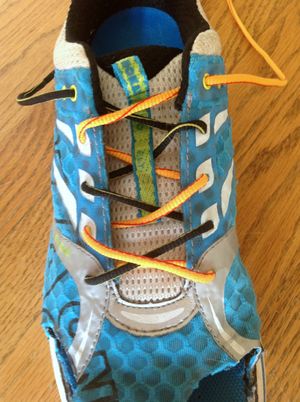
Instead of lacing across every eye hole you can skip a pair, which creates a gap. This reduces the pressure on the top of the foot where the gap occurs, but it moves that pressure to the other laced areas.
