Treadmill Calibration
If you'd like to check how accurate your Treadmill is, here's the testing procedure. It's not as simple as some other approaches, but it provides a far more accurate result. This test evaluates the treadmill while you're running on it, so it includes any possible slowdown that occurs well your foot is in contact with the belt. I developed this procedure while testing the Stryd Footpod. I'd found that their Footpod is stunningly accurate outside, but seemed to be way off on the treadmill. The folks at Stryd investigated reports from various runners about problems on the treadmill, and they found that many treadmills vary in speed, slowing down when the runner is in contact with the belt. This is in addition to any other calibration problems a treadmill might have.
Contents
1 Equipment
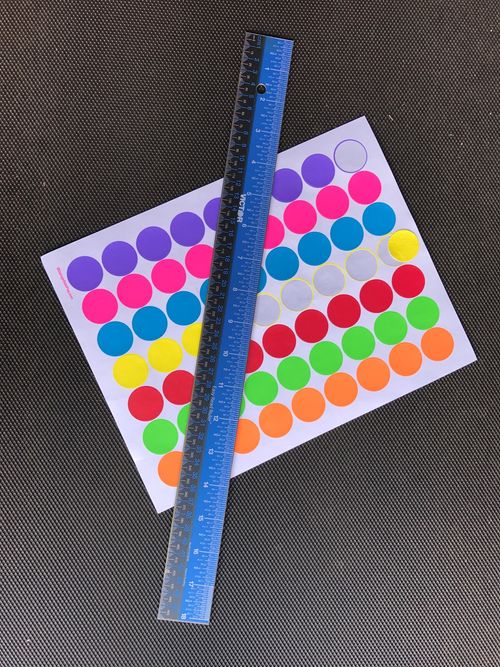
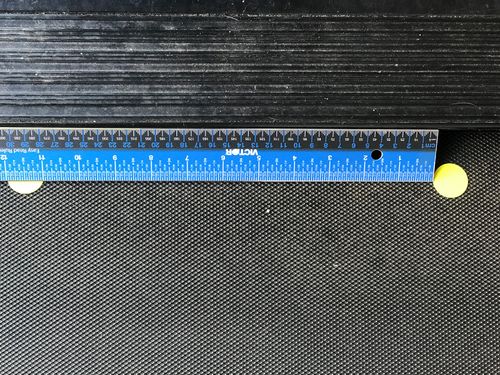
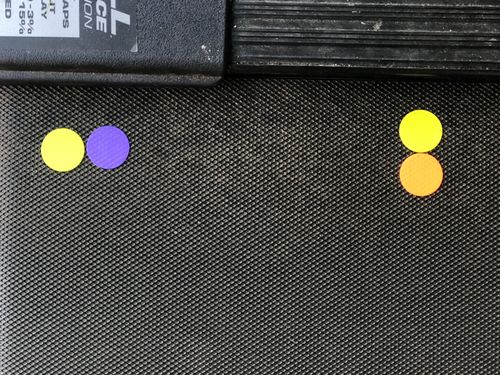
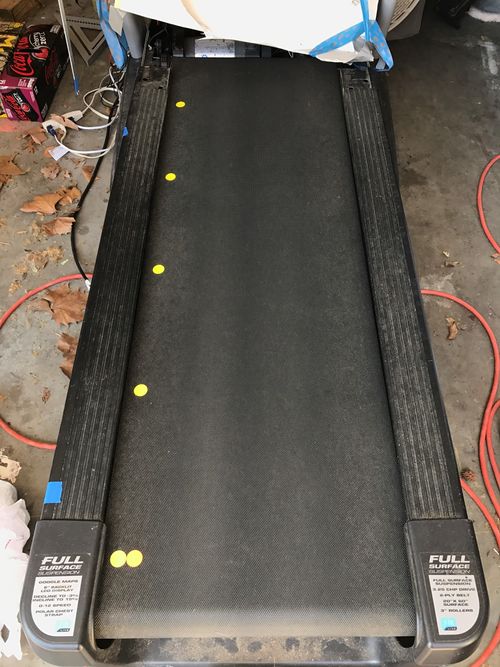
Besides the treadmill, you'll need a camera capable of recording high speed video, sometimes referred to as "Slo-Mo video". An iPhone 6 or 7 works well, though there are other options. You'll need to place markers at regular intervals along the belt. I used round sticky labels from Amazon that are intended to be color coding dots. You need to measure the distance between the labels, and I used a standard steel rule. I put my phone on a tripod, though you could ask a friend to take the video for you instead.
2 Setup
3 Recording
The actual recording is fairly simple. I set up my phone so that it was looking sideways at the treadmill, and slightly above the belt. You need to be able to see when your foot is in good contact with the belt, and see the markers as they go by. You only need to record about a minute of travel, but make sure you let the treadmill get up to full speed. If you have a remote shutter release, you can record only when your speed has stabilized (I couldn't find my remote release when I shot my calibration video.)
4 Analyzing
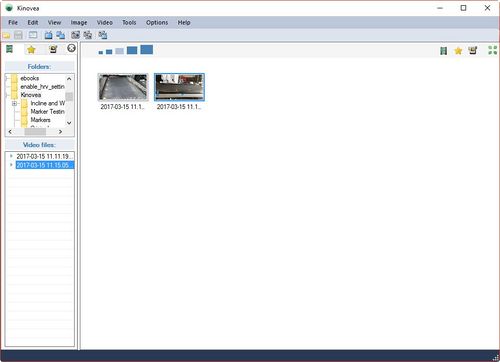
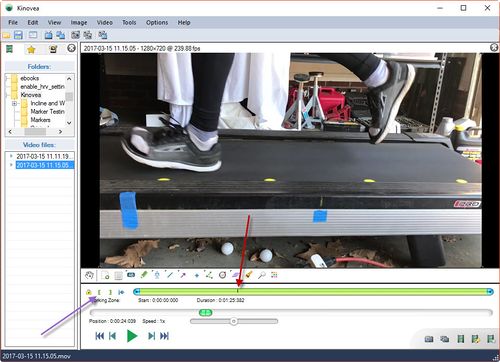
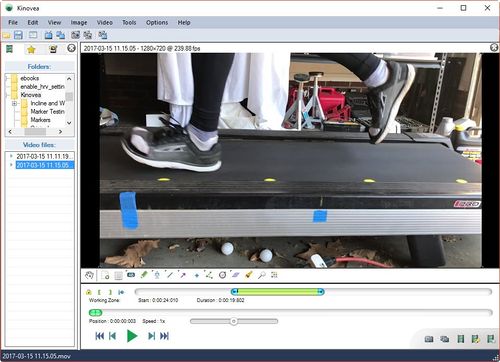
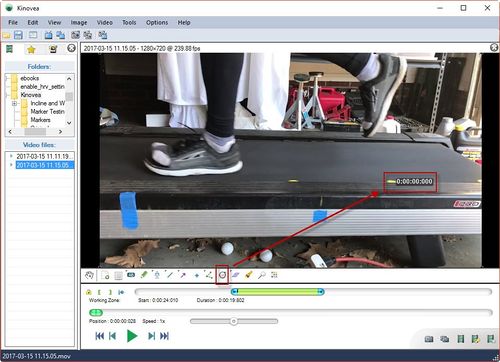
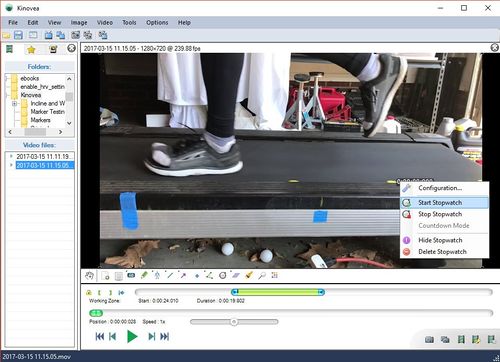
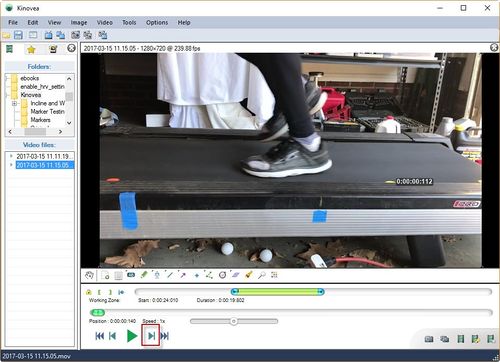
I used Kinovea for analyzing the results. It's free, open source software, and you can find some more details at High Speed Video Analysis. I used Dropbox to transfer my video to my PC.
5 Calculations
The calculation of pace is fairly simple, and I used Excel. If your timings vary from sample to sample, then you need to average them out. In my testing, I got exactly the same time for each sample which made things easier. I calculated the number of inches per second the belt was moving at by dividing the distance (12 inches) by the time (0.112 seconds), giving me 107 inches/second. This is then converted to miles/hour by dividing by 17.6, giving me 6.087 MPH. Sadly, my treadmill was set to 7.0 MPH, so it's a long way off!
